How to Create a Funnel in Systeme.io (Beginner Tutorial)
-
🛠️What You Need Before Starting
-
🔷Step 1: Create a New Funnel
-
🎨Step 2: Choose a Template for Your Opt-In Page
-
📝Step 3: Name Your Funnel
-
✏️Step 4: Edit Your Funnel
-
🚀Step 5: Preview Your Funnel
Disclosure: Some links in this article may be affiliate links, which means I may earn a commission at no extra cost to you if you choose to purchase through them. I only recommend tools I believe are genuinely useful, especially for beginners.
In this beginner-friendly tutorial, I’ll show you how to create a simple funnel in Systeme.io step by step.
If you’re brand new to affiliate marketing or funnels, don’t worry. I’ll keep this simple and show you exactly where to click so you don’t feel overwhelmed.
🛠️What You Need Before Starting
Before creating your funnel, make sure you have:
A free Systeme.io account.
An offer or idea for your funnel.
🔷Step 1: Create a New Funnel
From your dashboard, go to Sites → Sales Funnels
Click +Create
Name your funnel so you remember what offer it’s for.
Choose “Build an Audience” to start with a premade funnel template that you can customize later.
Click Save

Then click into the funnel you just created
🎨Step 2: Choose a Template for Your Opt-In Page
Systeme.io gives you premade templates so you don’t have to build your funnel from scratch. Don’t worry too much about the design right now because you can customize everything later.
Browse the available templates
Click on the template you want to use

📝Step 3: Name Your Funnel
You can leave your funnel name as “Opt-In Page” or rename it to something more organized. This simply helps you remember what the funnel is for.
Clean up your URL path by deleting the random characters at the end and replacing them with something simple like “welcome”, “start”, or anything related to your page. Keeping your URL clean looks more professional.
When you’re finished, click "Edit Page."


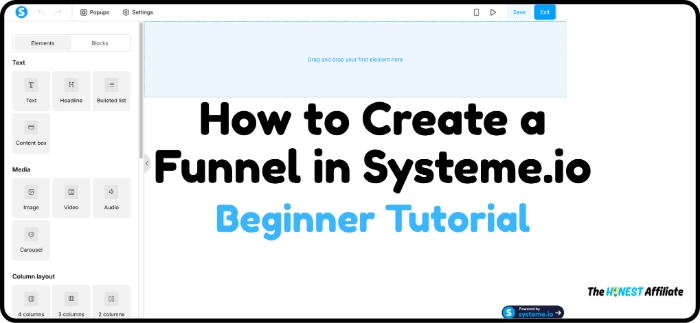
✏️Step 4: Edit Your Funnel
Once the template is loaded, you can customize the page by changing the text, buttons, images, and colors to match your offer.
To edit text, simply click on the text you want to change and start typing.

To edit images, backgrounds or buttons, hover over the element and click the settings icon. From there, use the left-side toolbar to make your changes.

When you’re done editing your page, click “Save” and then click “Exit” in the top-right corner.

Next, click the “Thank You Page” on the left side and repeat Steps 2–4 to customize that page as well.

🚀Step 5: Preview Your Funnel
Once your pages are finished, click "View Funnel" in the top right to see what your funnel looks like live.

Your basic funnel is now ready to go.
In future tutorials, I’ll show you how to connect your affiliate links, email marketing, automations, follow-up sequences and more inside Systeme.io so your funnel can start collecting and nurturing leads automatically.
If you'd like to build your own funnel, you can create a free Systeme.io account using the button below.
Continue Learning Systeme.io
If you’re just getting started with Systeme.io, these beginner tutorials may help you next:
How to Edit a Funnel Page in Systeme.io – Learn how to customize your funnel’s design, text, images, and buttons.
How to Create an Opt-in Form in Systeme.io – Learn how to collect email addresses with a simple opt-in form.
How to Create a Thank you Page in Systeme.io - Learn how to create a simple thank you page after someone opts in.
How to Add a Button to a Thank you Page in Systeme.io - Learn how to add a button, customize it, and link it to an affiliate offer, sales page or another URL.
-
🛠️What You Need Before Starting
-
🔷Step 1: Create a New Funnel
-
🎨Step 2: Choose a Template for Your Opt-In Page
-
📝Step 3: Name Your Funnel
-
✏️Step 4: Edit Your Funnel
-
🚀Step 5: Preview Your Funnel
Disclosure: Some links in this article may be affiliate links, which means I may earn a commission at no extra cost to you if you choose to purchase through them. I only recommend tools I believe are genuinely useful, especially for beginners.